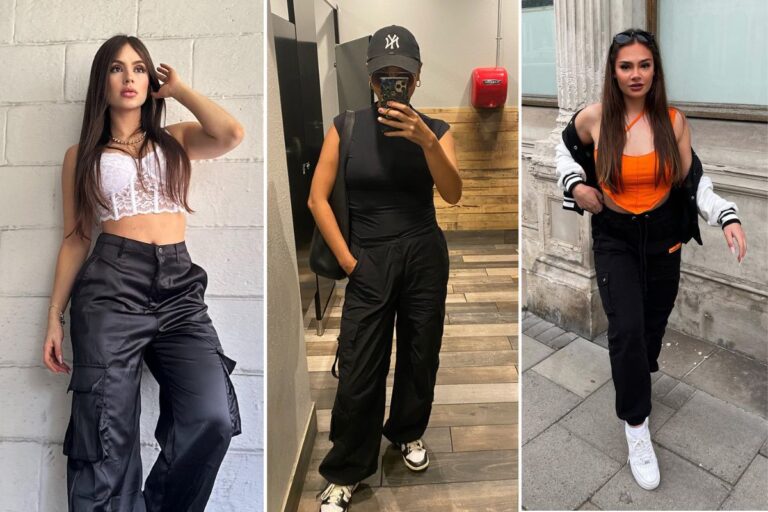
I’ve always loved wearing low-rise jeans. The lower waistband shows off my hips and they’re just more comfortable! But with high-rise jeans being so popular now, it’s impossible to find cute low-rise pairs in stores.
So I decided to take an old pair of too-tight high-rise jeans and DIY them into low-rise jeans that actually fit me properly!
It took some work to rip seams, cut fabric, pin things just right, and stitch new seams. But in the end, I successfully turned those jeans into the perfect customized low-rise pair for my body type.
In this blog post, I’ll walk you through exactly how I transformed high-rise jeans into low-rise. Follow my step-by-step tutorial to make any ill-fitting high-waisted jeans into comfy low-rise denim that flatters your shape.
What You’ll Need
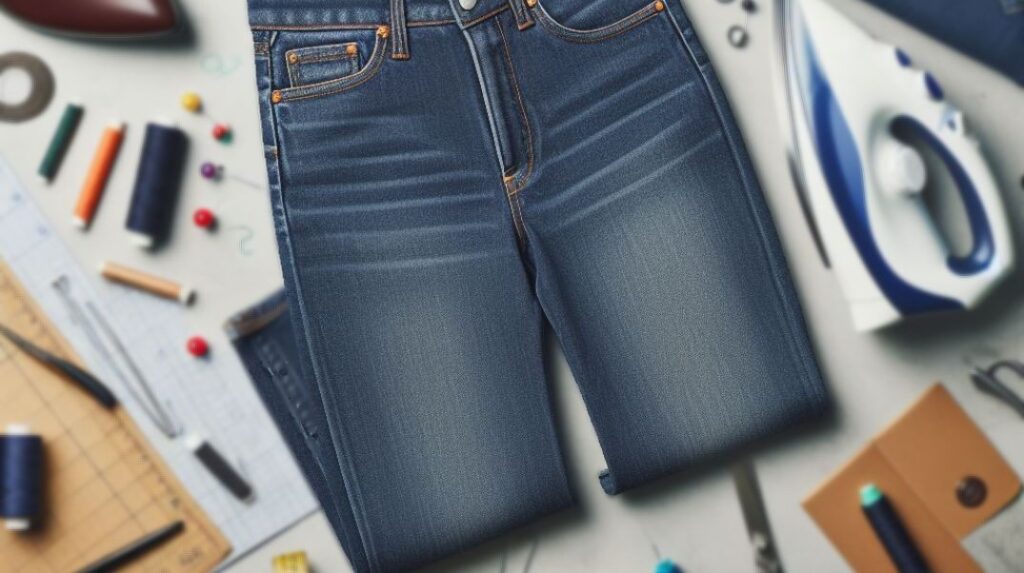

Gather these supplies before beginning your high-to-low rise jean transformation:
- High-rise jeans you wish to alter
- Tailor’s chalk or fabric marker
- Tape measure
- Needle and thread
- Seam ripper
- Scissors
- Straight pins
- Iron
How to Convert High-Rise Jeans into Low Rise?


Follow these steps to professionally convert high-rise jeans into a low-rise style:
1. Mark the New Waistline Height
- Put on the high-rise jeans and determine where you want the new low-rise waistline to hit. Generally 3-5 inches below your natural waist is considered a low rise.
- Using tailor’s chalk or a fabric marker, draw a line to mark the desired waist height. Make sure the line is even across the front and back.
2. Rip Vertical Side Seams
- Using a seam ripper, open the vertical side seams by removing the stitching. Rip from the cuffs up to just below your waistline marking.
- This allows the legs to be slimmed if needed once the rise is lowered. Set aside any removed hardware like rivets.
3. Detach Waistband
- At the center back, rip the stitches attaching the waistband to the jeans.
- Rip the waistband completely off, working around the entire circumference. Set it aside.
4. Remove Pockets
- Carefully remove any pockets, belt loops, or hardware that cross over your waistline marking using the seam ripper.
- For front pockets, rip only the top stitching so the pocket bags remain intact.
5. Trim Excess Fabric Above Marking
- With sharp scissors, cut off the excess fabric above your chalk waistline marking. Cut through all layers.
- Take care to cut precisely on the line for even finished results.
6. Hem New Waist Edge
- Fold under and press the newly cut waistline edge about 1⁄2 inch. This creates the hem.
- Maintaining the fold, sew the hem in place close to the inner folded edge.
7. Try on Jeans
- With the new lowered rise, try on the jeans to check the fit.
- Pin in the side seams at the hip as needed to slim the leg width.
8. Adjust Side Seams
- If the legs need slimming, stitch the pinned side seams in their new narrowed placement.
- The relaxed upper thigh can also be taken in for a tapered shape.
9. Shorten Waistband
- If needed, shorten the removed waistband so it fits the new lower top circumference.
- Overlap the ends and stitch a new seam to make it smaller.
10. Attach Waistband
- Pin the waistband back onto the jeans over the folded hem, aligning the seams and raw edges.
- Sew it in place.
11. Finish Edges
- Press under the waist seam allowance. Hand-stitch the inner waistband facing over the seam.
- Finish any other raw edges like pocket tops with zigzag stitching.
12. Replace Hardware
- Ladder stitch pockets, belt loops, and any hardware back into place within the new lower rise placement.
13. Enjoy Your Low-Rise Jeans!
With some strategic deconstruction and reconstruction, you’ve elongated your high-rise jeans into a flattering low-rise fit.
Wear them with confidence and pride in your custom alteration skills!
Tips for Converting High Rise to Low Rise
Follow these tips for a smooth jeans converting process:
- Measure carefully to determine ideal new waist placement.
- Use sharp seam ripper and scissors to avoid tattered edges.
- Pin pieces together before stitching for accuracy.
- Check fit as you go to make adjustments as needed.
- Use heavy duty denim needles and thread.
- Take it slow – denim is thick and difficult to sew.
- Finish raw edges to prevent fraying.
Common Mistakes to Avoid
Steer clear of these errors for professional results:
- Cutting crooked new waistline
- Forgetting to shorten waistband
- Sewing off-grain leading to twisting
- Not removing pockets correctly
- Ripping holes or damaging fabric
- Stitching that puckers fabric
- Neglecting to finish raw edges
Customizing Your Low-Rise Jeans
Change the Hardware
Swap out the standard buttons, rivets, or zipper for hardware that reflects your personal style. Opt for colored, leather, engraved, or jeweled pieces.
Add Embellishments
Make your DIY low-rise jeans truly one-of-a-kind with unique touches like:
- Beading, sequins, or applique designs
- Whimsical embroidered patches or motifs
- Painted designs (use textile paint)
- Colorful fabric dyeing or ombre dip-dyeing
Transform the Hem
Update the hemline or cuffs to modernize the silhouette:
- Cut into trendy raw frayed edges
- Cuff or roll the hem
- Crop to ankle or capri length
Caring for Your Altered Jeans
Hand-wash custom low-rise jeans in cold water using a gentle detergent to preserve the integrity of the fabric, stitches, and embellishments. Hang dry only – never machine dry.
If needed, use an iron on the lowest setting when garment is still slightly damp. Avoid ironing directly on topstitching, beading, or other embellishments.
Know Your Rise Types
There are three main jeans rise categories, measured from the crotch seam to the top edge:
- Low rise: 7-8 inches
- Mid rise: 9-11 inches
- High rise: 12+ inches
Where you place the new waistline on your altered jeans depends on your height, body type, and preferred rise. Go with what flatters you best!
Which Body Types Suit Low-Rise Jeans?
While personal style preferences should ultimately drive your rise choice, those with the following body attributes can pull off low-rise jeans well:
- Shorter torso, longer legs
- Narrow hips, straight figure
- Taut, flat lower abdomen
- Petite frame
- Hourglass curves
Higher rises tend to better suit straighter hips, fuller midsections, and overall balance on taller frames. But experiment to see what you feel fabulous in!
Ready to Get Your Sew On?
We hope this comprehensive guide has equipped you with the knowledge and inspiration to successfully convert your out-of-style high-rise jeans into fashionable low-rise wear.
Play with rise heights, slimming techniques, and creative touches to make thrift store finds or forgotten hanging favorites relevant again.
While it does take time, care, and skill, altering your own jeans is deeply rewarding – and so much chicer than buying off-the-rack.
Wear your homemade low-rise jeans with confidence, style, and DIY pride!